Automatic Video Measurement Systems With Mcp Probe Manufacturers – EM-series Manual type 2D Vision Measuring Machine – Chengli
Automatic Video Measurement Systems With Mcp Probe Manufacturers – EM-series Manual type 2D Vision Measuring Machine – Chengli Detail:
Products Video
Parameters & Features
|
Model |
SMU-2010EM |
SMU-3020EM |
SMU-4030EM |
SMU-5040EM |
|
X/Y/Z measurement stroke |
200×100╳200mm |
300×200╳200mm |
400×300╳200mm |
500×400╳200mm |
|
Z axis stroke |
Effective space: 200mm, working distance: 90mm |
|||
|
XYZ axis base |
X/Y mobile platform:Jinan green marble; Z axis column: square steel |
|||
|
Machine base |
Jinan green marble |
|||
|
Size of glass countertop |
250×150mm |
350×250mm |
450×350mm |
550×450mm |
|
Size of marble countertop |
360mm×260mm |
460mm×360mm |
560mm×460mm |
660mm×560mm |
|
Bearing capacity of glass countertop |
25kg |
|||
|
Transmission type |
X/Y axis: High precision cross drive guide and polished rod Z axis: High precision linear guide and screw rod |
|||
|
Optical scale |
X/Y axis: High precision optical scale resolution: 0.001mm |
|||
|
X/Y linear measurement accuracy (μm) |
≤3+L/200 |
|||
|
Repetition accuracy (μm) |
≤3 |
|||
|
Camera |
1/3″ HD color industrial camera |
|||
|
Lens |
Fixed zoom lens, optical magnification: 0.7X-4.5X, image magnification: 20X-128X |
|||
|
Image system |
Image software: it can measure points, lines, circles, arcs, angles, distances, ellipses, rectangles, continuous curves, tilt corrections, plane corrections, and origin setting. The measurement results display the tolerance value, roundness, straightness, position and perpendicularity. The degree of parallelism can be directly exported and imported into Dxf, Word, Excel, and Spc files for editing which is suitable for batch testing for customer report programming. At the same time, part of and the entire product can be photographed and scanned, and the size and image of the entire product can be recorded and archived, then the dimensional error marked on the picture is clear at a glance. |
|||
|
Image card: SDK2000 chip image transmission system, with clear image and stable transmission. |
||||
|
Illumination system |
Continuously adjustable LED light (Surface illumination +contour illumination), with lower heating value and long service life |
|||
|
Overall dimension(L*W*H) |
800×700×1050mm |
900×800×1050mm |
1000×900×1050mm |
1150×1050×1050mm |
|
Weight(kg) |
100kg |
150kg |
200kg |
250kg |
|
Power supply |
AC220V/50HZ AC110V/60HZ |
|||
|
Computer |
Special host |
|||
|
Display |
21 inches |
|||
|
Warranty |
1 year warranty for the whole machine |
|||
|
Switching power supply |
Mingwei MW 12V |
|||
Product Description
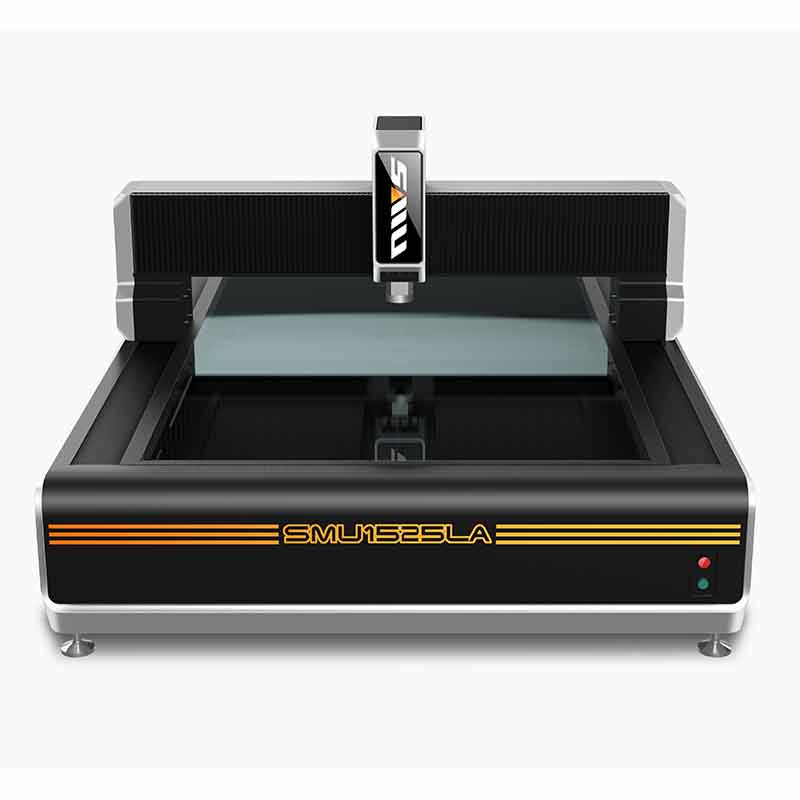
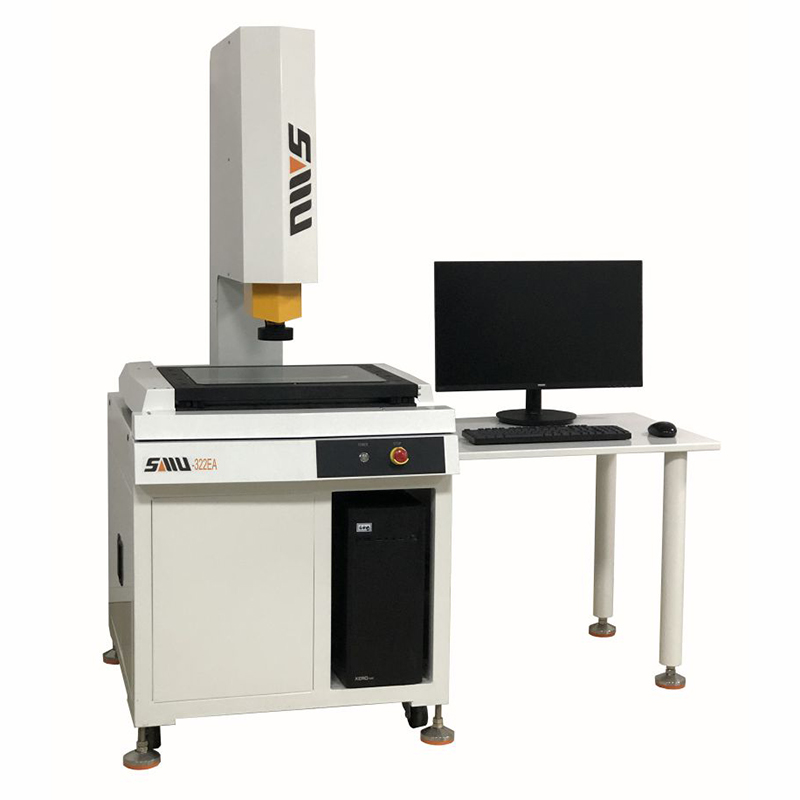
In the case of ensuring the stability of the platform and the accuracy of the Z axis, the maximum measurement range of the cantilever manual vision measuring machine is usually 500*400mm. If its platform is larger than 500mm, the left and right ends of the platform will have a large overhang, which will affect the stability of the machine. If the customer needs a larger measuring range and a relatively stable manual vision measuring machine, the gantry type or frame type mechanical structure can be selected.
The advantage of the manual vision measuring machine is that it is cost-effective, and it is usually used in the sampling inspection of the two-dimensional size of the product. It adopts a non-contact measurement method to avoid damage to the product surface by traditional measuring tools, thereby replacing traditional contact measuring tools and industrial projectors, and has become an indispensable two-dimensional precision measuring instrument for the global manufacturing industry.

Environment of Instrument
1. Temperature and humidity
Temperature: 20-25℃, optimal temperature: 22℃; relative humidity: 50%-60%, optimal relative humidity: 55%; Maximum temperature change rate in the machine room: 10℃/h; It is recommended to use a humidifier in dry area, and use a dehumidifier in humid area.
2. Heat calculation in the workshop
Keep the machine system in the workshop operating in the optimum temperature and humidity, and the total indoor heat dissipation must be calculated, including the total heat dissipation of indoor equipment and instruments (lights and general lighting can be ignored).
1. Heat dissipation of human body: 600BTY/h/person.
2. Heat dissipation of workshop: 5/m2.
3. Instrument placement space (L*W*H): 2M ╳ 2M ╳ 1.5M.
3. Dust content of air
The machine room shall be kept clean, and the impurities greater than 0.5MLXPOV in the air shall not exceed 45000 per cubic foot. If there is too much dust in the air, it is easy to cause resource read and write errors and damage to the disk or read-write heads in the disk drive.
4. Vibration degree of machine room
The vibration degree of machine room shall not exceed 0.5T. Machines that vibrate in the machine room shall not be placed together, because the vibration will loosen the mechanical parts, joints and contact parts of the host panel, resulting in abnormal operation of the machine.
Power Supply
AC220V/50HZ
AC110V/60HZ
FAQ
What is the average lead time?
For samples, The lead time is about 3 days for manual machines, about 5-7 days for automaticmachines, and about 30 days for bridge series machines. For mass production, the lead time is 20-30 days after receiving the deposit payment. The lead times become effective when (1) we have received your deposit, and (2) we have your final approval for your products. If our lead times do not work with your deadline, please go over your requirements with your sale. In all cases we will try to accommodate your needs. In most cases we are able to do so.
What kinds of payment methods do you accept?
You can pay to our bank account or paypal: 100%T/T in advance.
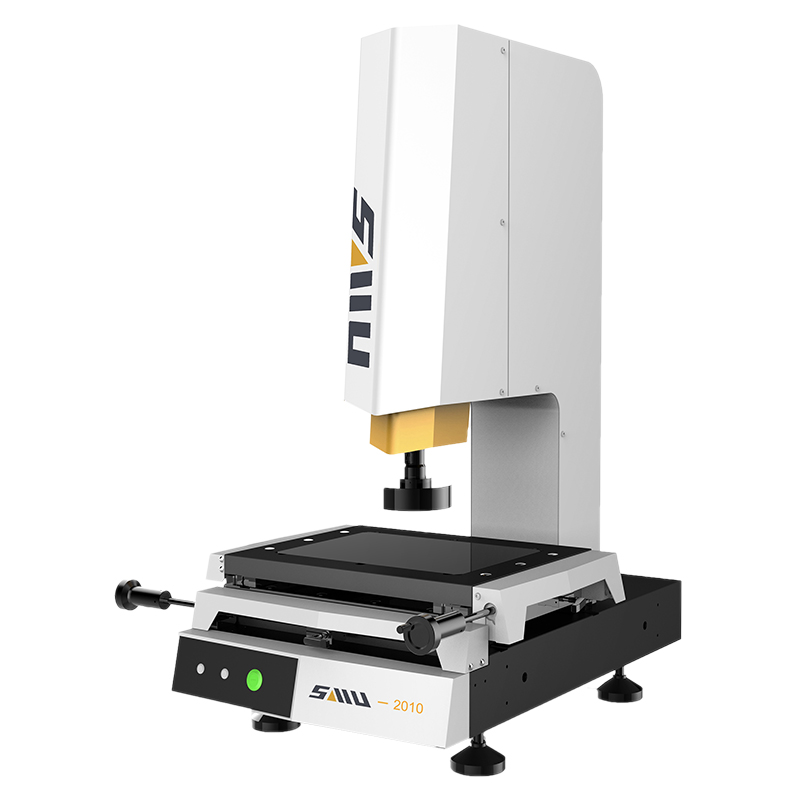
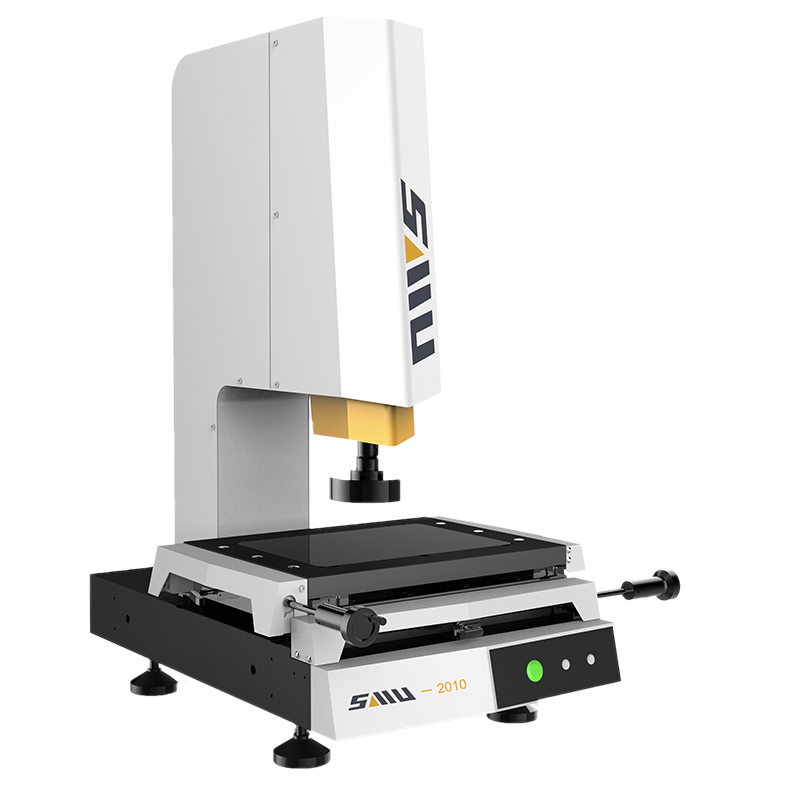
Product detail pictures:
Related Product Guide:
We are experienced manufacturer. Wining the majority of the crucial certifications of its market for Automatic Video Measurement Systems With Mcp Probe Manufacturers – EM-series Manual type 2D Vision Measuring Machine – Chengli , The product will supply to all over the world, such as: Rotterdam, Venezuela, Philadelphia, We only supply quality products and we believe this is the only way to keep business continue. We can supply custom service too such as Logo, custom size, or custom products etc that can according to customer's requirement.
The customer service staff is very patient and has a positive and progressive attitude to our interest, so that we can have a comprehensive understanding of the product and finally we reached an agreement, thanks!

