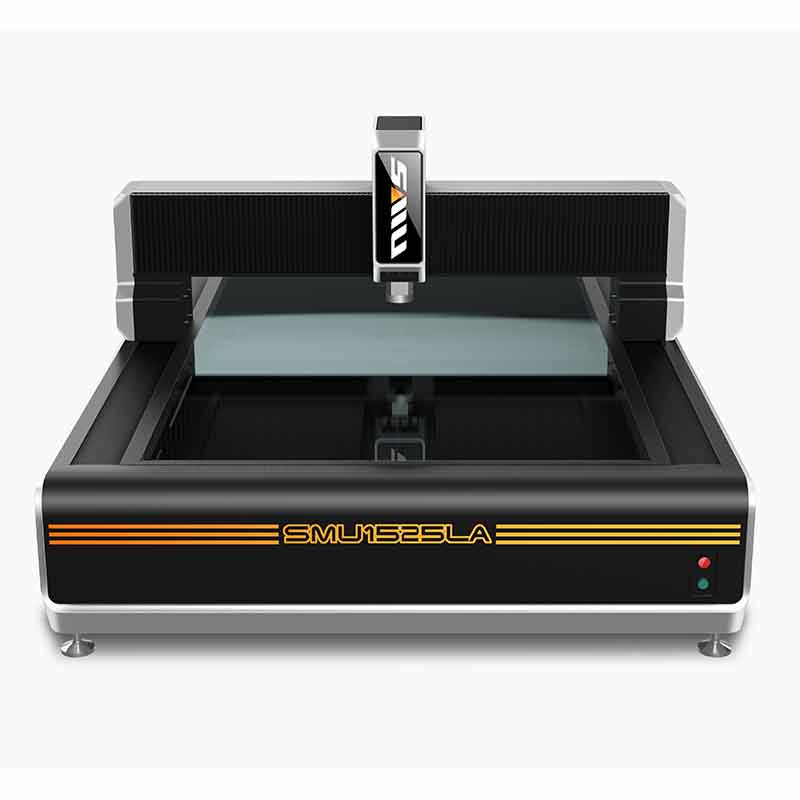
Bridge Type Automatic 2.5D Vision Measuring Machine
Parameters & Features
| Model | SMU-5060LA | SMU-6080LA | SMU-1525LA |
| X/Y/Z measurement stroke | 500×600×200mm | 600×800×200mm | 1500×2500×200mm |
| Z axis stroke | Effective space: 200mm, working distance: 90mm | ||
| XYZ axis base | X/Y mobile platform:Grade 00 cyan marble; Z axis column: square steel | ||
| Machine base | Grade 00 cyan marble | ||
| Size of glass countertop | 660×840mm | 720×920mm | 580×480mm |
| Bearing capacity of glass countertop | 30kg | ||
| Transmission type | Hiwin P-grade linear guides and C5-grade ground ball screw | ||
| Optical scale resolution | 0.0005mm | ||
| X/Y linear measurement accuracy (μm) | ≤2.8+L/200 | ≤3+L/200 | ≤5+L/200 |
| Repetition accuracy (μm) | ≤2.8 | ≤3 | ≤5 |
| Camera | Hikvision 1/2″ HD color industrial camera | ||
| Lens | Auto zoom lens | ||
| optical magnification: 0.7X-4.5X | |||
| image magnification: 30X-300X | |||
| Image system | Image software: it can measure points, lines, circles, arcs, angles, distances, ellipses, rectangles, continuous curves, tilt corrections, plane corrections, and origin setting. The measurement results display the tolerance value, roundness, straightness, position and perpendicularity. The degree of parallelism can be directly exported and imported into Dxf, Word, Excel, and Spc files for editing which is suitable for batch testing for customer report programming. At the same time, part of and the entire product can be photographed and scanned, and the size and image of the entire product can be recorded and archived, then the dimensional error marked on the picture is clear at a glance. | ||
| Image card: intel gigabit network video capture card | |||
| Illumination system | Continuously adjustable LED light (Surface illumination +contour illumination), with lower heating value and long service life | ||
| Overall dimension(L*W*H) | 1450×1250×1650mm | 2100×1400×1650mm | 3050×2450×1650mm |
| Weight(kg) | 1500kg | 1800kg | 5500kg |
| Power supply | AC220V/50HZ AC110V/60HZ | ||
| Computer | intel i5+8g+512g | ||
| Display | Philips 27 inches | ||
| Warranty | 1 year warranty for the whole machine | ||
| Switching power supply | Mingwei MW 12V/24V | ||
| ***Other specifications of the machine can be customized. | |||
Product Description
The mechanical structure of the large-stroke 2.5D bridge-type vision measuring machine is matched with the base of 00-grade natural marble, and it has the characteristics of high stability and high precision when measuring the workpiece in the high-speed operation mode. Its XYZ three axes all use AC servo motors with double closed-loop motion control, P-level guide rails and grinding screws, and the Z axis uses ultra-clear 4K cameras and lenses, and can achieve 2.5D measurement with MCP probes and lasers.

Environment of Instrument
Power Supply
Write your message here and send it to us


