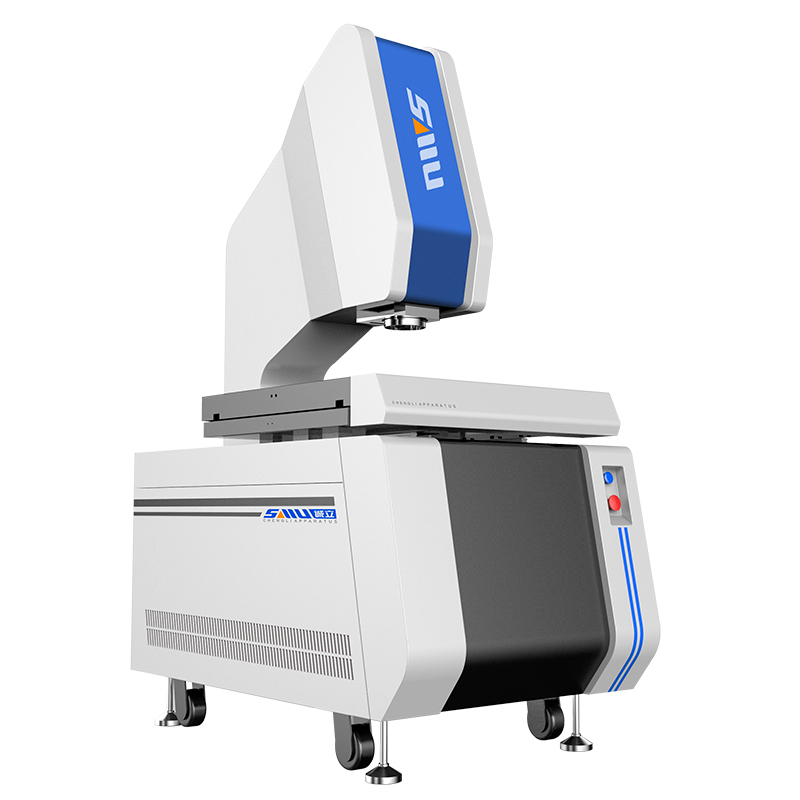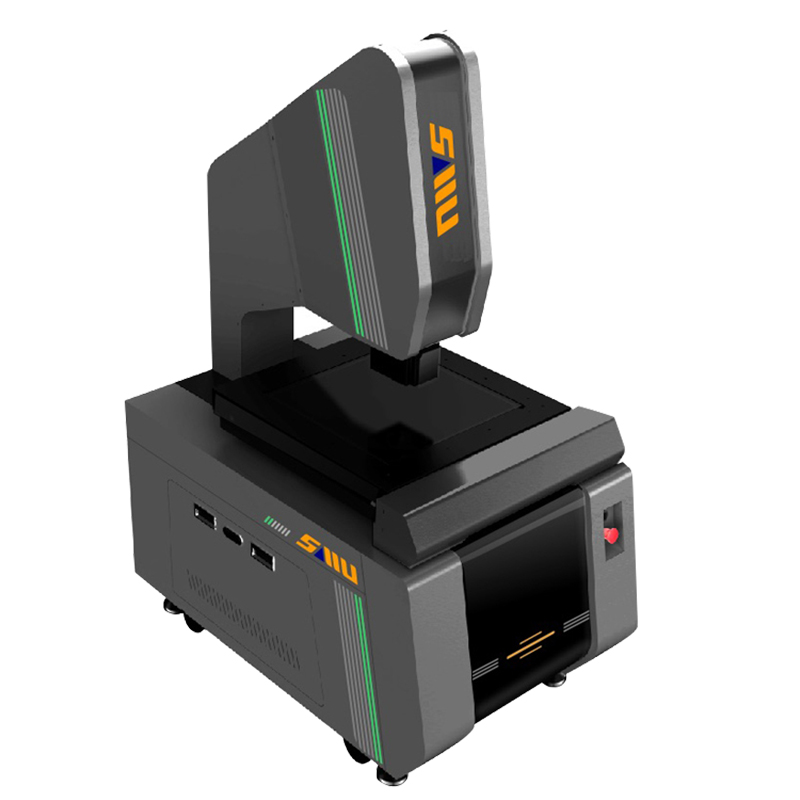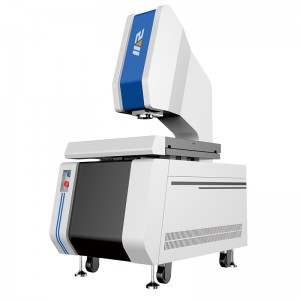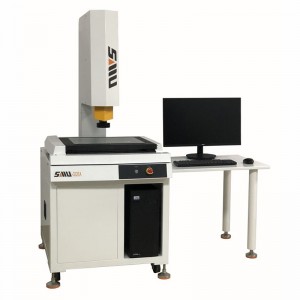
HA-series Fully automatic 2.5D Vision Measuring Machine
Product Video
Parameters & Features
|
Model |
SMU-3030HA |
SMU-4040HA |
SMU-5040HA |
|
X/Y/Z measurement stroke |
300×300×200mm |
400×400×200mm |
500×400×200mm |
|
Z axis stroke |
Effective space: 200mm, working distance: 90mm |
||
|
XYZ axis base |
X/Y mobile platform:Grade 00 cyan marble
Z axis column: square steel |
||
|
Machine base |
Grade 00 cyan marble | ||
|
Size of glass countertop |
380×380mm |
480×480mm |
580×480mm |
|
Size of marble countertop |
460×460mm |
560×560mm |
660×560mm |
|
Bearing capacity of glass countertop |
30kg |
||
|
Transmission type |
Hiwin P-grade linear guides and C5-grade ground ball screw |
||
|
Optical scale resolution |
0.0005mm |
||
|
X/Y linear measurement accuracy (μm) |
≤2+L/200 |
≤2.5+L/200 |
≤3+L/200 |
|
Repetition accuracy (μm) |
≤2 |
≤2.5 |
≤3 |
|
Camera |
Hikvision 1/2″ HD color industrial camera |
||
|
Lens |
Auto zoom lens optical magnification: 0.7X-4.5X image magnification: 30X-300X |
||
|
Image system |
Image software: it can measure points, lines, circles, arcs, angles, distances, ellipses, rectangles, continuous curves, tilt corrections, plane corrections, and origin setting. The measurement results display the tolerance value, roundness, straightness, position and perpendicularity. The degree of parallelism can be directly exported and imported into Dxf, Word, Excel, and Spc files for editing which is suitable for batch testing for customer report programming. At the same time, part of and the entire product can be photographed and scanned, and the size and image of the entire product can be recorded and archived, then the dimensional error marked on the picture is clear at a glance. |
||
|
Image card: intel gigabit network video capture card |
|||
|
Illumination system |
Continuously adjustable LED light (Surface illumination +contour illumination), with lower heating value and long service life |
||
|
Overall dimension(L*W*H) |
1300×830×1600mm |
||
|
Weight(kg) |
300kg |
350kg |
400kg |
|
Power supply |
AC220V/50HZ AC110V/60HZ |
||
|
Computer |
intel i5+8g+512g |
||
|
Display |
Philips 27 inches |
||
|
Warranty |
1 year warranty for the whole machine |
||
|
Switching power supply |
Mingwei MW 12V/24V |
||
Product Description
The automatic vision measuring machine is suitable for large-scale two-dimensional dimension measurement of precision electronics, hardware, semiconductors, plastics, precision molds and other products. In the case of product positioning, we only need to edit one program for the same product to achieve fully automatic batch inspection. Its higher precision and measurement efficiency are ten times that of manual vision measuring machines, thus saving labor costs and time costs, and the fully automatic measurement method avoids human operation errors and realizes truly intelligent manufacturing.

