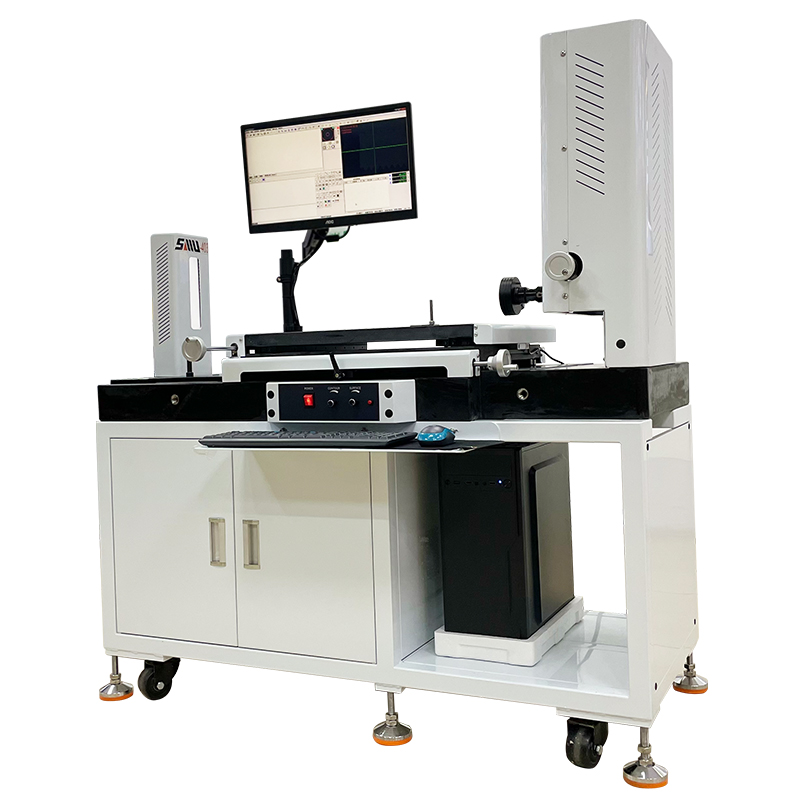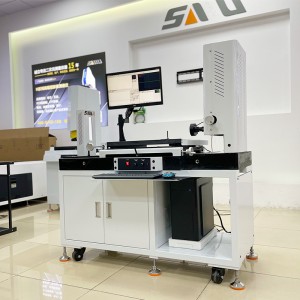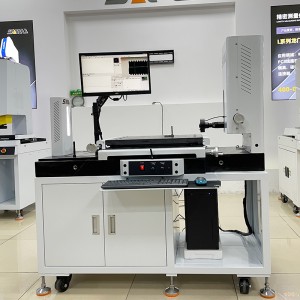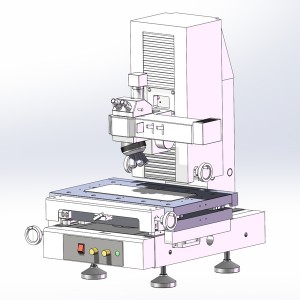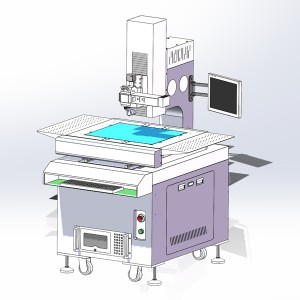
Horizontal Manual Two-Dimensional Image Measuring Instrument
Video
Main Technical Parameters and Characteristics of the Machine
|
Model |
Horizontal manual two-dimensional image measuring instrument SMU-4030HM |
|
X/Y/Z measurement stroke |
400×300×150mm |
|
Z axis stroke |
Effective space: 150mm, working distance: 90mm |
|
XY axis platform |
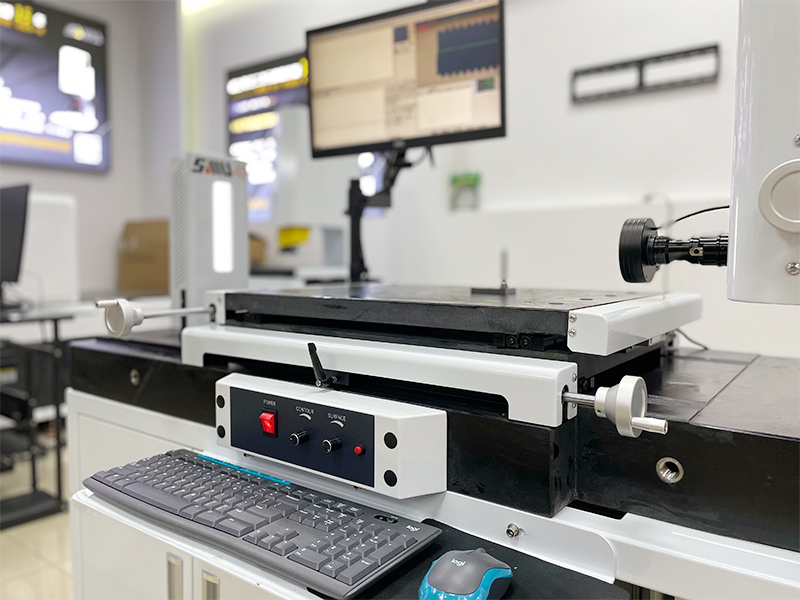
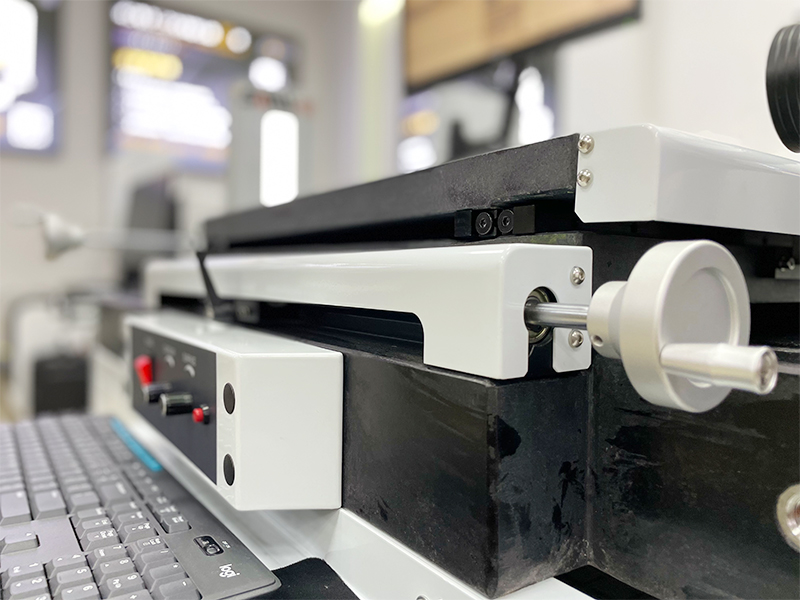
X/Y mobile platform:cyan marble; Z axis column: square steel |
|
Machine base |
Cyan marble |
|
Size of glass countertop |
400×300mm |
|
Size of marble countertop |
560mm×460mm |
|
Bearing capacity of glass countertop |
50kg |
|
Transmission type |
X/Y/Z axis: High precision cross drive guide and polished rod |
|
Optical scale |
X/Y axis optical scale resolution: 0.001mm |
|
X/Y linear measurement accuracy (μm) |
≤3+L/100 |
|
Repetition accuracy (μm) |
≤3 |
|
Camera |
1/3″ HD color industrial camera |
|
Lens |
Manual zoom lens, optical magnification:0.7X-4.5X, image magnification: 20X-180X |
|
Image system |
SMU-Inspec Manual measurement software |
|
Image card: SDK2000 video capture card |
|
|
Illumination system |
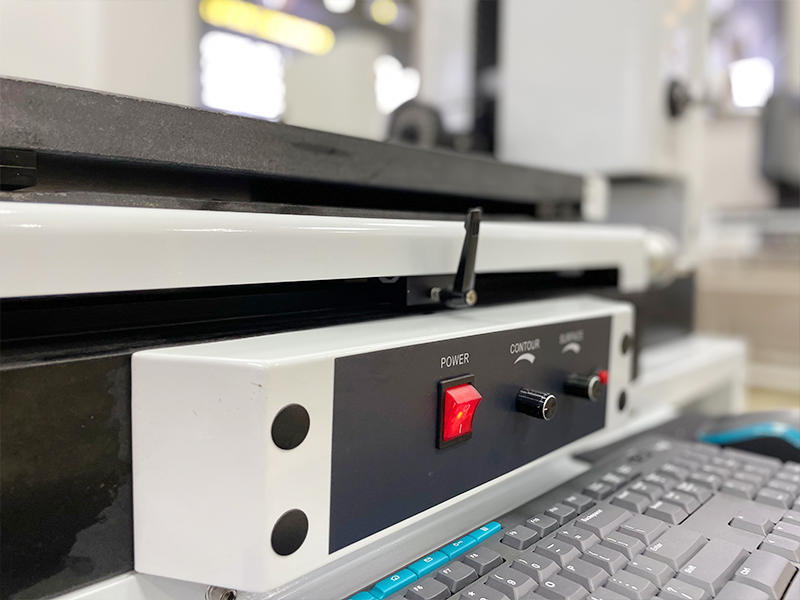
Light source: continuously adjustable LED light source (surface light source + contour light source + infrared positioning) |
|
Overall dimension(L*W*H) |
Customized equipment, subject to the actual product |
|
Weight(kg) |
300KG |
|
Power supply |
AC220V/50HZ AC110V/60HZ |
|
Power supply switch |
Mingwei MW 12V |
|
Computer host configuration |
Intel i3 |
|
Monitor |
Philips 24” |
|
Warranty |
1 year warranty for the whole machine |
Measurement Software
With manual focus, the magnification can be switched continuously.
Complete geometric measurement (multi-point measurement for points, lines, circles, arcs, rectangles, grooves, measurement accuracy improvement, etc.).
The automatic edge finding function of image and a series of powerful image measurement tools simplify the measurement process and make the measurement easier and more efficient.
Support powerful measurement, convenient and quick pixel construction function, users can construct points, lines, circles, arcs, rectangles, grooves, distances, intersections, angles, midpoints, midlines, verticals, parallels and widths by simply clicking on graphics.
The measured pixels can be translated, copied, rotated, arrayed, mirrored, and used for other functions. The time for programming can be shortened in case of a large number of measurements.
The image data of measurement history can be saved as a SIF file. In order to avoid differences in the measurement results of different users at different times, the position and method of each measurement for different batches of objects shall be the same.
The report files can be output according to your own format, and the measurement data of the same workpiece can be classified and saved according to the measurement time.
Pixels with measurement failure or out of tolerance can be separately re-measured.
The diversified coordinate system setting methods, including the coordinate translation and rotation, redefinition of a new coordinate system, modification of coordinate origin and coordinate alignment, make the measurement more convenient.
The shape and position tolerance, tolerance output and discrimination function can be set, which can alarm the unqualified size in the form of color, label, etc., allowing users to judge data more quickly.
With 3D view and visual port switching function of working platform.
Images can be output as JPEG file.
The pixel label function allows users to find measurement pixels more quickly and conveniently when measuring a large number of pixels.
The batch pixel processing can select the required pixels and quickly execute the program teaching, history resetting, pixels fitting, data exporting and other functions.
Diversified display modes: Language switching, metric/inch unit switching (mm/inch), angle conversion (degrees/minutes/seconds), setting of decimal point of displayed numbers, coordinate system switching, etc.
The software is seamlessly connected with EXCEL, and the measurement data has the functions of graphic printing, data details and preview. Data reports can not only be printed and exported to Excel for statistical analysis, but also exported according to the requirements of customer format report correspondingly.
The synchronous operation of reverse engineering function and CAD can realize the conversion between software and AutoCAD engineering drawing, and directly judge the error between the workpiece and engineering drawing.
Personalized editing in the drawing area: point, line, circle, arc, delete, cut, extend, chamfered angle, circle tangent point, find the center of the circle through two lines and radius, delete, cut, extend, UNDO/REDO. Dimension annotations, simple CAD drawing functions and modifications can be directly done in the overview area.
With humanized file management, it can save the measurement data as Excel, Word, AutoCAD and TXT files. Moreover, the measurement results can be imported into professional CAD software in DXF and directly used for development and design.
The output report format of pixel elements (such as center coordinates, distance, radius etc.) can be customized in the software.

