INSPEC 2D CNC software developers combined with measurement of more than ten years working experience in industry and software, professional well-developed two-dimensional measurement software.
INSPEC 2D CNC software design principle is: Operation Simple, Powerful, Stable and reliable, Easy maintenance.
INSPEC 2D CNC Main Function:
(1) Measuring element:
Capable of measuring 12 elements (point, line, circle, arc, ellipse, rectangular, slot, ring, distance, angle, the cloud line, closed cloud line).
Features:
A variety of measure methods(Automatic identification、probe point﹐Compare、Comparison tolerance。preset),To meet the different needs of users, greatly improved ease of use and accuracy.
Single-point collection method﹕Mouse point,Cross line point,Zoom point。
To measure cloud line closed perimeter, area and center of gravity, the use of cubic interpolation algorithm, in order to present the most accurate method of measuring the cloud line.
measurement can be more than an circle, rapid and accurate measurement of more than one circle.
Measurement data can be saved as DXF files, or. BMP images, and user program format.
(2) Macro measurement function
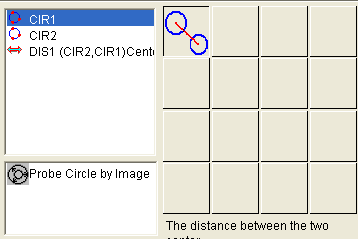
Macro function is measured with some of the measurements, the command structure associated to a button. The click of a button, that is the beginning of the implementation of macro measurement function, measurement function macro will automatically complete the structure and measure,so moves the mouse to reduce the number of users and enhance efficiency. It should be noted that: macro measurement function is different from the user program, the macro does not record light measurements, such as measuring the state of the coordinates of the location. Run macros, it will not move table, lighting and so on. Software provides a measurement of 16 group macro function, users can edit macro button icon.
Interface:
(3) Automatic Identification
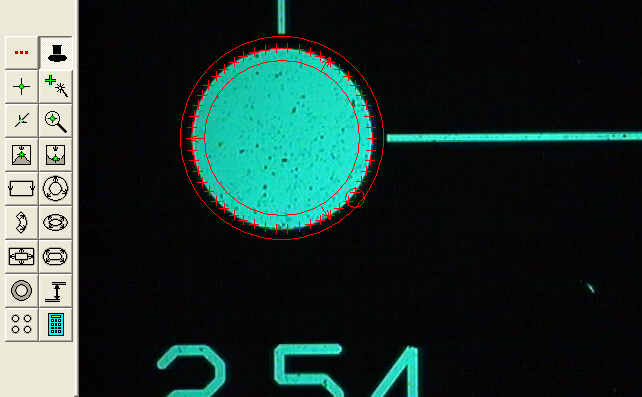
Click ,And then the circle with the mouse trap to the edge of the workpiece can be automatically look for edge line, circle or arc. The following: Automatically circle.
(4) Structural elements:
Powerful element of structure: Structural elements to provide INSPEC 2D CNC Construction Law 10 ([Shift], [rotation], [extraction], [portfolio], [parallel ], [vertical], [mirror], [symmetry], [intersection], [tangent]) geometric structure elements. Structural elements INSPEC 2D CNC allows users to easily cope with difficult to measure some of the elements, so as to enhance the work efficiency.
The results of a variety of structures to provide the results of the various structures for the user to choose. For example: two points combline line, two points can be connected together to form a straight line, you can get a line of symmetry , so there are two constructor.
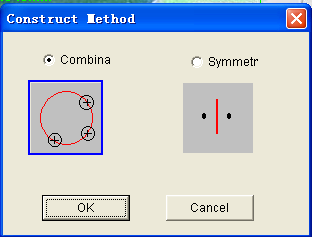
● Combination method to choose, click OK, two points can be connected。
● Symmetric:symmetry line of two points
(5) Measurement results
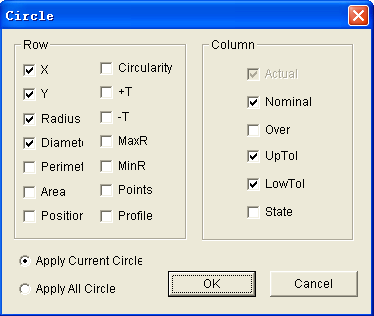
Various elements of the survey findings indicate that it is informative and can meet the needs of various customers. What are the content and settings, which does not show that individual elements can also set up a separate display of information. Similar elements can also be set on the next map element is circleround Settings dialog box to display information
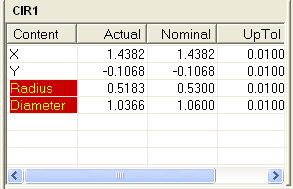
If the ultra-poor results, which will display the contents of the ultra-poor, and will appear as the red.
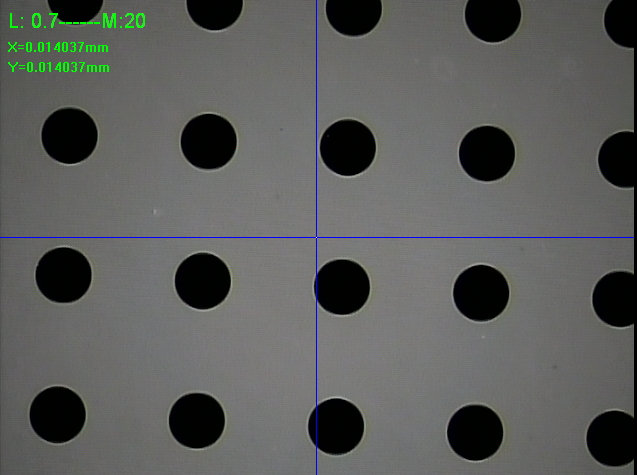
(6) Showing the optical magnification and screen magnification
The chart below shows the optical magnification and screen magnification, screen magnification software automatically calculate and display a pixel can be equal to the number of mm.
(7) Coordinate system
Can be set up in accordance with drawing multiple workpiece coordinate system. The realization of the coordinates of the coordinate system transformation; can easily achieve the Cartesian coordinate system with polar coordinates conversion between; to achieve the workpiece coordinate system to store and call。
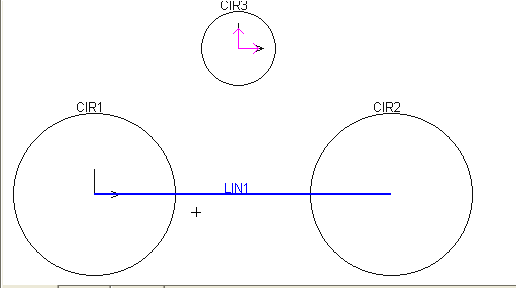
After the establishment of coordinate system, if you select a cross-line rotation, cross-line rotation will be instructing the direction of coordinate system rotation
(8) User program:
Unrestricted user program record, edit, save. Exhaled function. users can edit all records of user actions, the realization of copy measurements, a substantial increase in the efficiency measurement.
Can set the user program is running in the process of AF, in the automatic measurement process, can be measured manually.
Can be re-measurement of an element to change its measurement methods, but also can edit to change its measured rate, light source,etc.
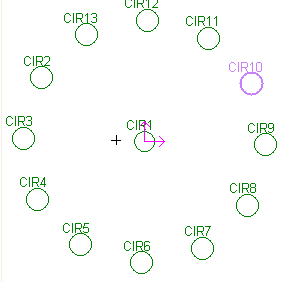
The chart is set up through the translation and rotation of the two user programs:

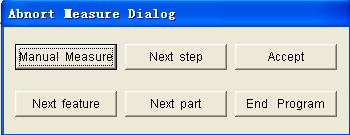
If the measurement of abnormal, the software can be smart to deal with, for example, if the workpiece move. The following dialog box will pop up to allow the user to choose。
(9) AF
Provide accurate and rapid Focus Focus function, measured by focusing a high degree of value, or through the AF point to be the current coordinates.
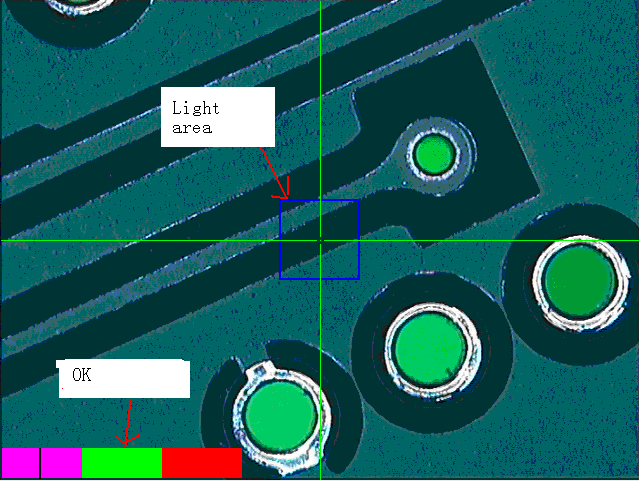
(10) Assist light
Indicator light, will instruct the user when the best light, because of lighting to avoid measurement errors caused ,and increased measurement accuracy and measurement efficiency.
Post time: Oct-19-2022

