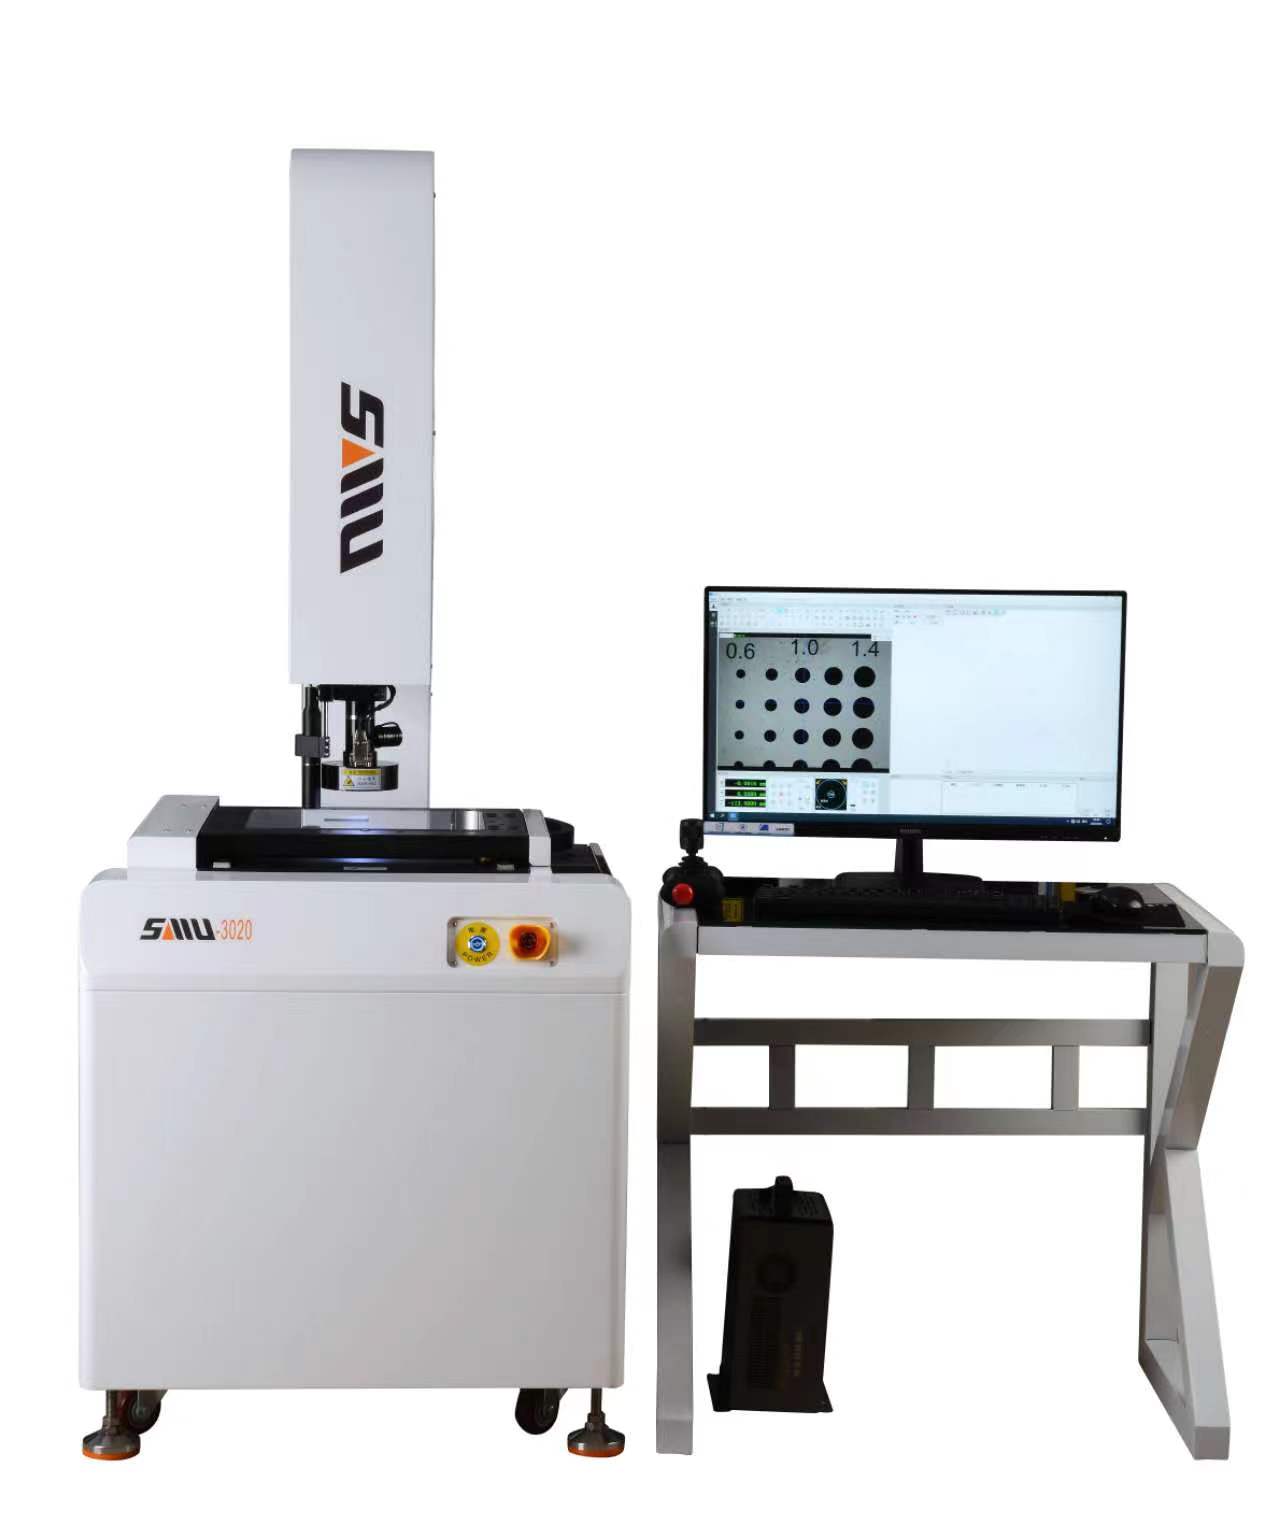
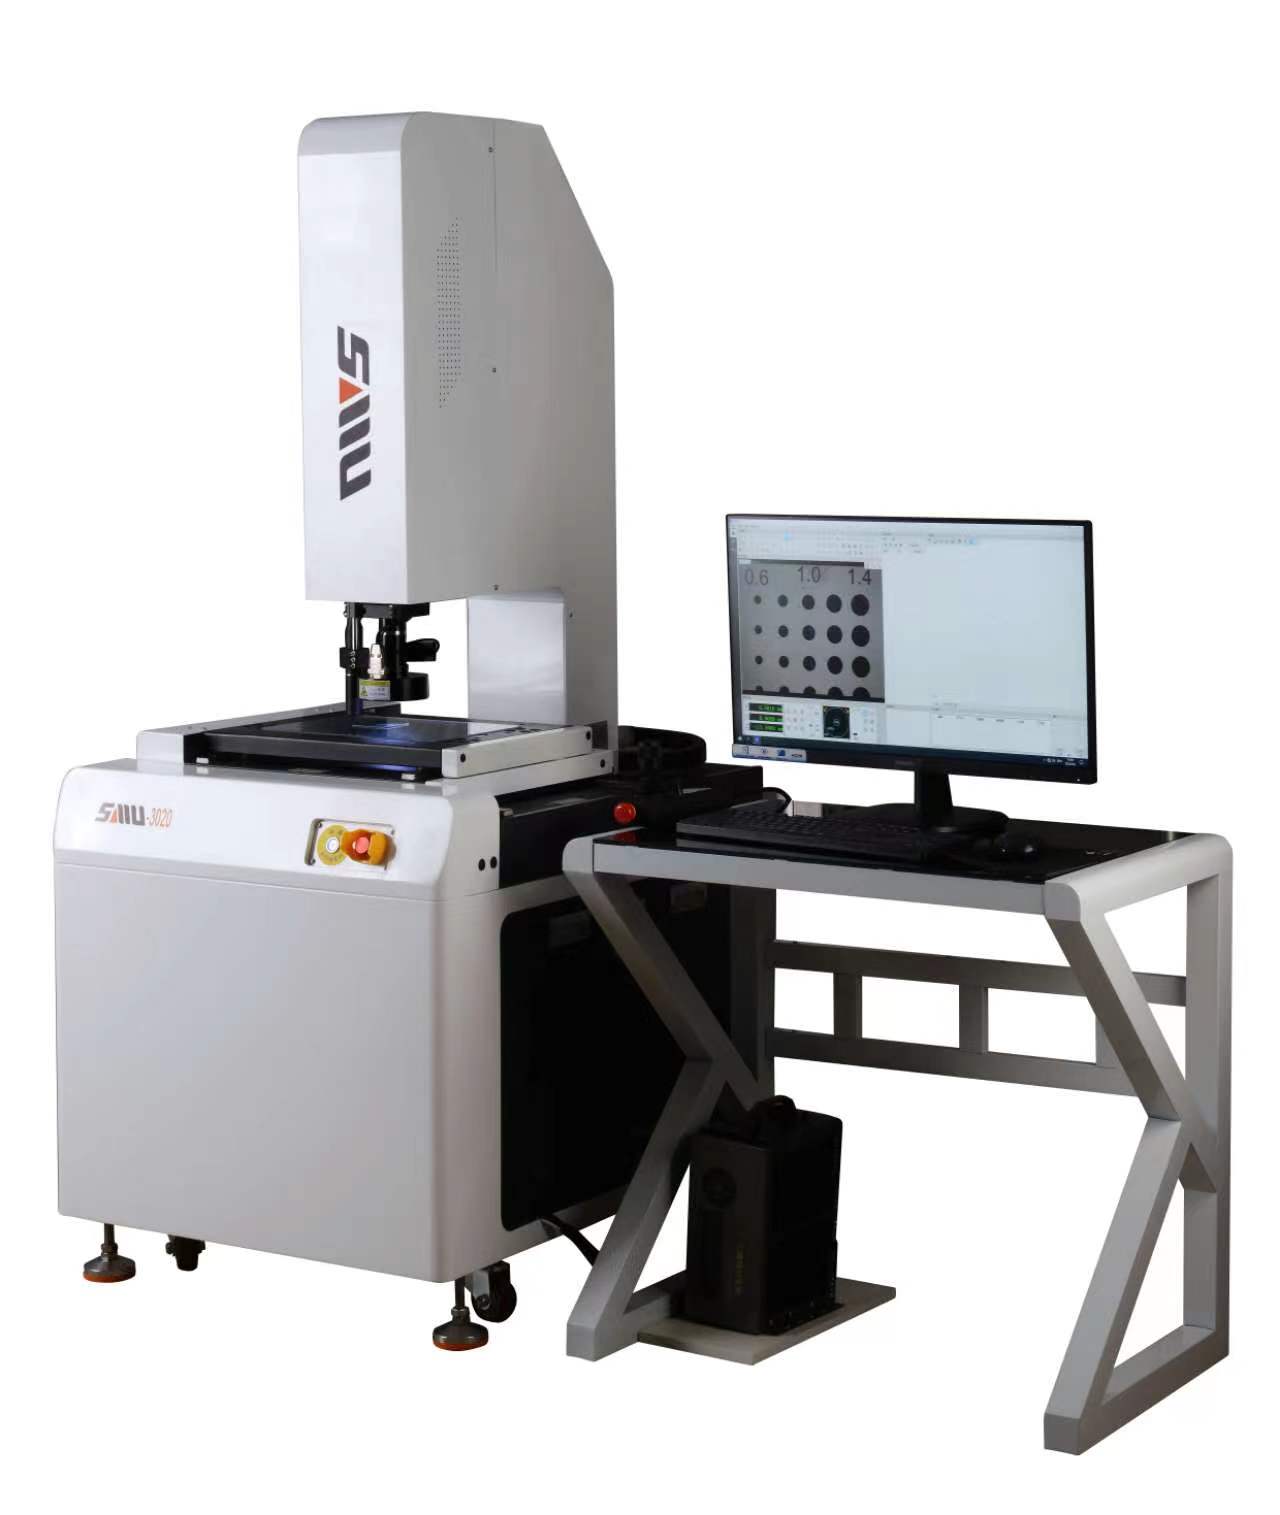
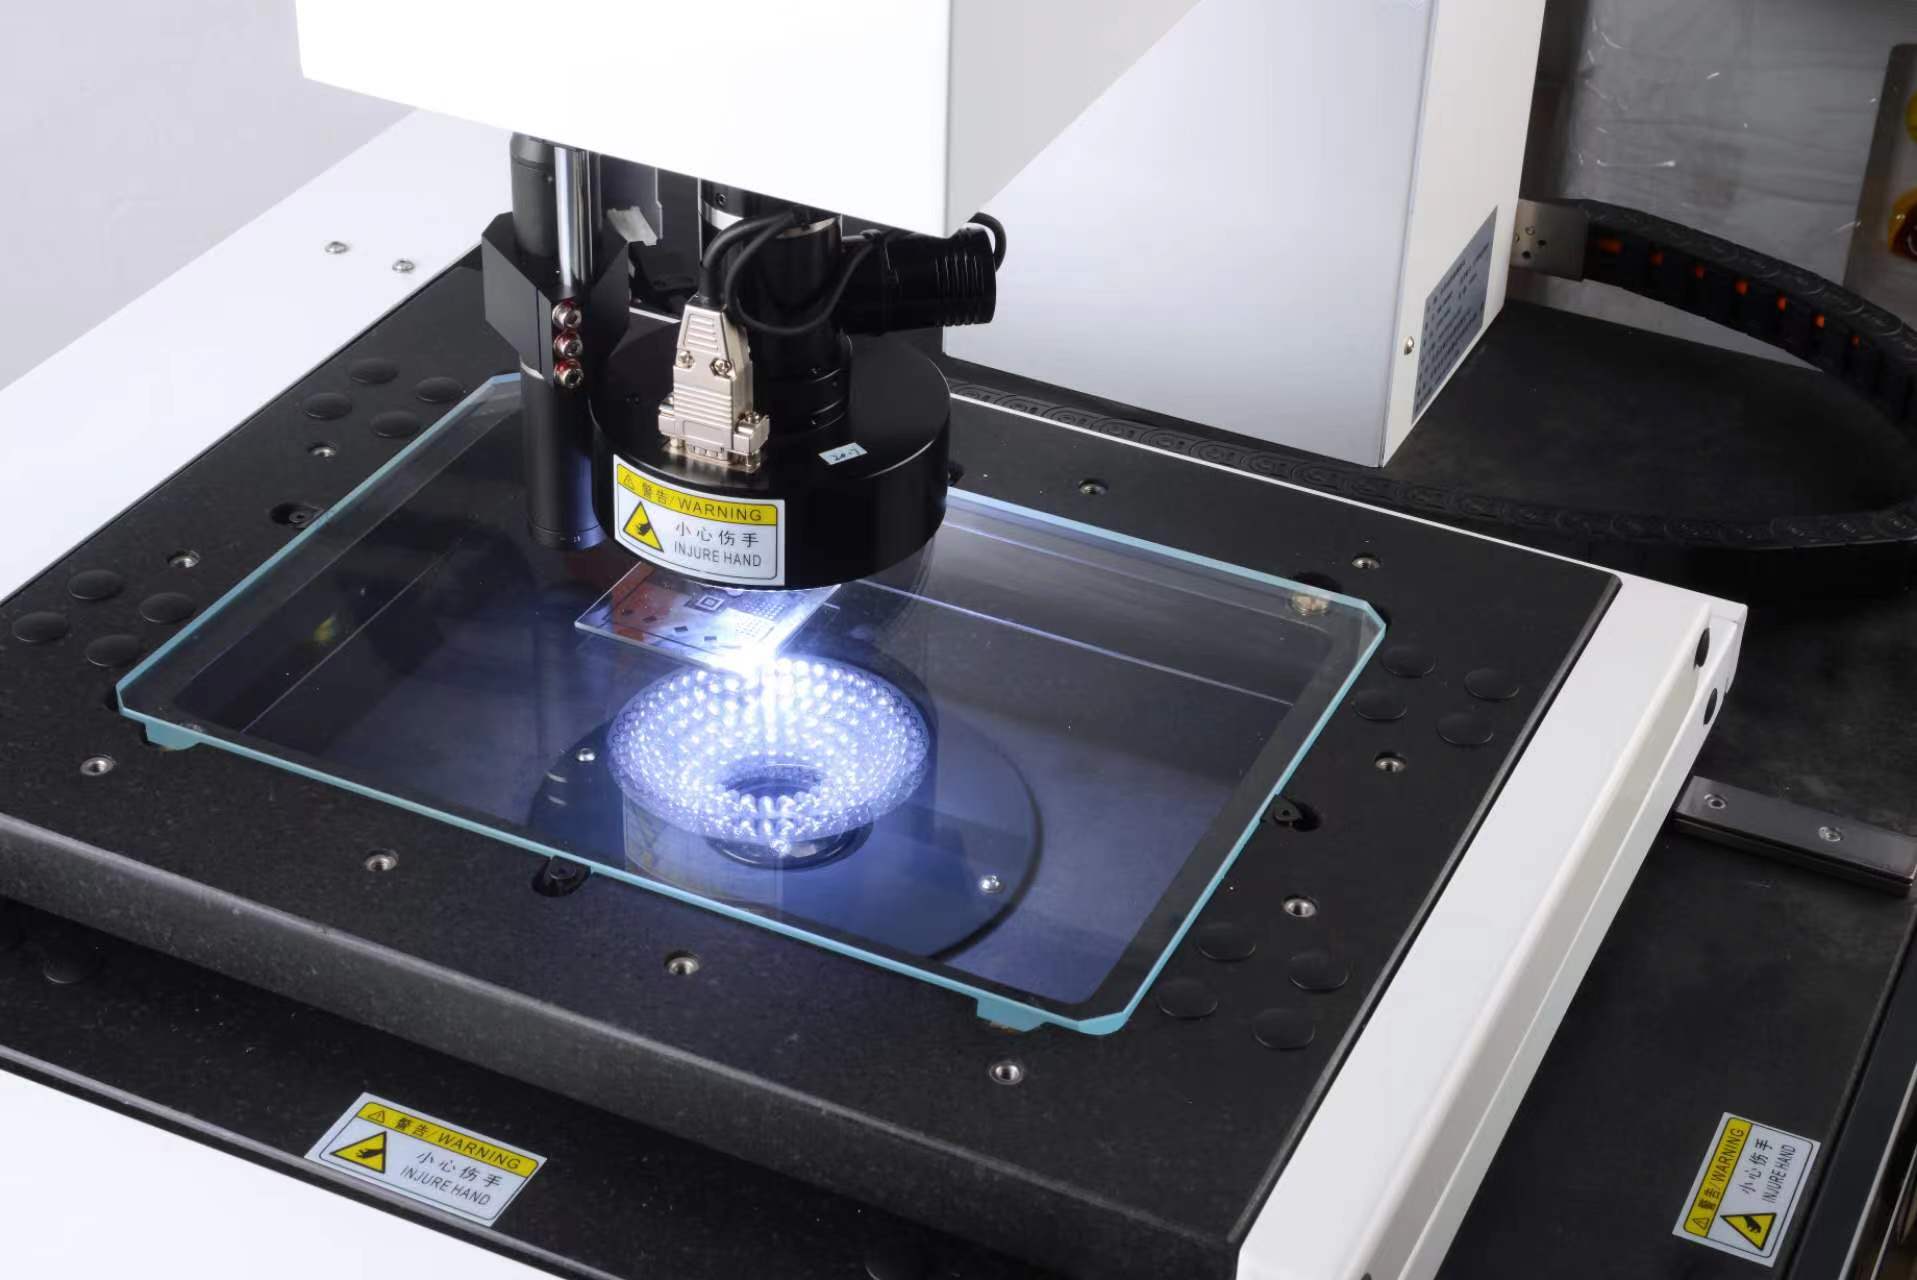
The two-dimensional image measuring instrument (also known as image mapping instrument) is based on CCD digital image, relying on computer screen measurement technology and powerful software capabilities of spatial geometric calculation. After the computer is installed with special control and graphic measurement software, it becomes the measurement brain with the soul of the software, which is the main body of the whole device. It can quickly read the displacement value of the optical scale, and through the calculation of the software module based on the space geometry, the desired result can be obtained instantly and a graph will be generated on the screen for the operator to compare the graph and shadow, so that the measurement can be distinguished intuitively There may be bias in the results.
The characteristics of our two-dimensional measuring instrument:
1. High-precision granite base, columns and beams ensure extremely high stability and precision
2. All-alloy working surface and double-layer grinding optical glass
3. Imported high-precision P-level linear guide rail, precision silent grinding screw, high precision, accurate positioning
4. Three-axis servo motor drive
5. Original high-resolution, high-resolution industrial-specific color CCD to ensure high-quality measurement images
6. High-definition, high-resolution continuous zoom lens, which can change the working magnification at any time
7. High precision metal grating
8. Automatic program-controlled partition LED cold light source, which can provide multi-angle lighting
Post time: Sep-04-2023


